When I opened the box, I noticed one thing, these Suspension Techniques sway bars are each 10 lbs. heavier than stock! This made me feel really good, since I want firm handling.
Tools needed: jack, jack stands, torque wrench, and all appropriate wrenches/sockets
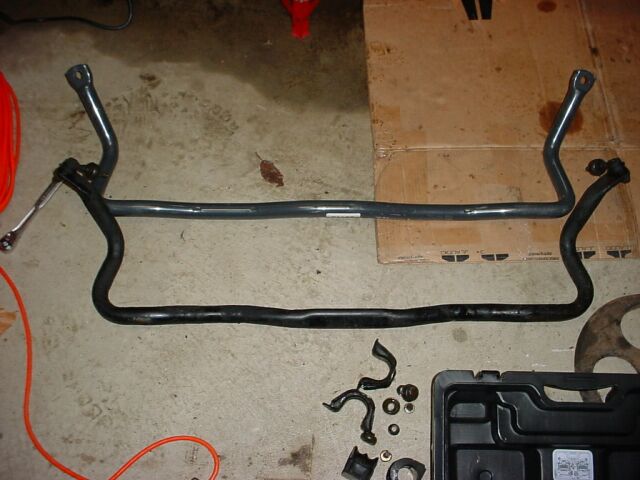
Front Bar (top left)
Removing the front bar was fairly easy. Our front sway bar runs underneath of everything, so its exposed on the bottom of the car. All there is to removing it are two brackets underneath, and the entire mount on the lower control arms.
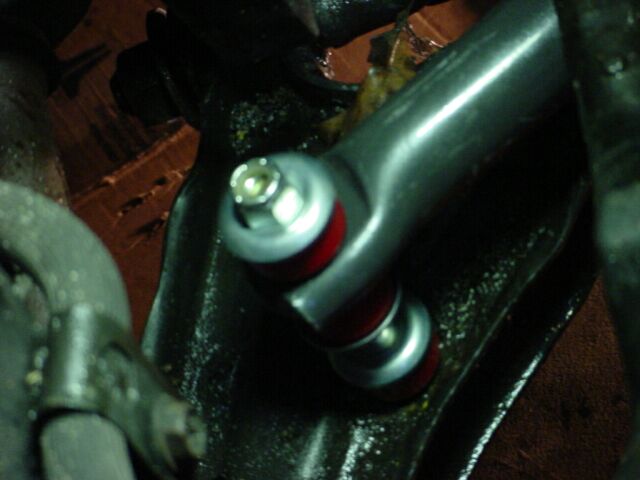
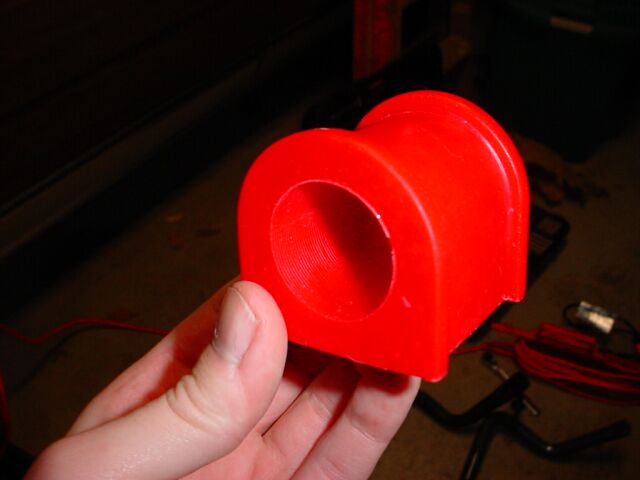
Installing the new one was just as easy. Use the moylebdenum grease that is included to lube the new polyurethane bushings (bottom left). Slip them on the bar at the approximate location for installation. Bolt up the bar from the bottom, then line-up the end connections (top right). The end connections are different from stock, it connects using a solid 1/2" bolt instead of a ball joint. This will add alot of stiffness just from the connections. Tighten down all bolts to the proper torque setting and you're set to go.
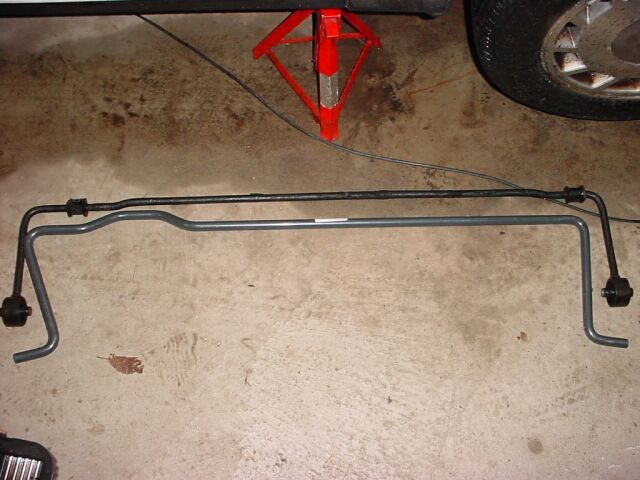
Rear Bar (bottom right)
The rear is even easier to remove. There are two hanging brackets that hold the middle of the bar and two end connections that are held in place by one bolt each.
Installing the new one is slightly different from the old. Of course you must lube the polyurethane bushings with the molybdenum grease and place them in the approximate locations. Except on the rear you will install four of these bushings, two in the middle and one on either end. You must mount a plate between the radius rod bracket and the strut knuckle on each side. This is where the end connections go for the new bar. After these steps are taken, you can install the bar. Bolt up the middle portion first, then attatch the end connections. Tighten all bolts to the appropriate torque setting and you are ready to roll!
Back to Modifications |