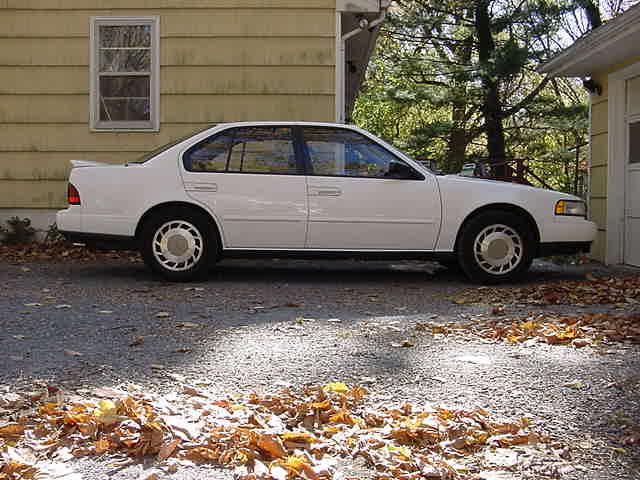
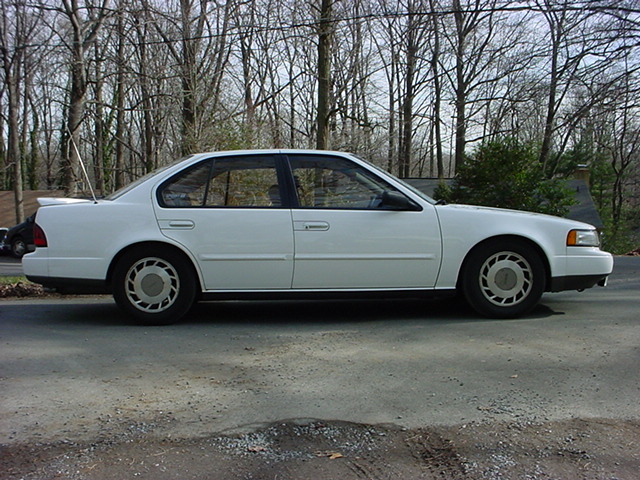
I decided to go with Sprint because of the "slammed" look. I think it looks incredible. It will look better once I get some new rims. You can find springs for sale almost anywhere online. Try a search for the brand, or check out the manufacturer's website to find local dealers.
This installation took quite a while for a first-timer. It took two separate times of taking things apart and jacking the car up to finally get the springs installed. I purchased the springs from Impact Parts on sale for $117 with an additional $20 for shipping.
The first time I tried to install them, I could not release one of the knuckle bolts that holds the strut to the wheel on the bottom. After pulling for hours with a breaker bar and using air tools, I decided to call it quits for now.
The second time I took things apart, I had a few ideas. What I ended up resorting to was using a propane torch to heat the bolt. While using the torch, I had to be VERY careful of the brake lines and the CV boot, since this was the front driver's side wheel. It broke loose after about five minutes of heating on both sides of the bolt. Now I could get on with the installation.
There is a very helpful site that I used called 3rd Generation Nissan Maxima for this installation (front and rear). They have the Chilton pages for the suspension and detailed step-by-step instructions on installation procedure.
For this job, you will need spring compressors, two people (can be done with one, but much more timely), and about 4 hours if you are taking your time with air tools.
I bought the camber kits through Impact Parts (93 Max SE Front: $33 #81250 x1 Rear: $76 #67010 x2). I installed the front kit, which was a breeze. The front kit includes two bolts that have a cam on each. The cam enables the camber to be changed with the twist of the bolt. The bolt replaces the top knuckle bolt at the bottom of the strut assembly. I installed the bolt to offset the negative camber at a maximum. The rear kit is a different story. (See the annotated diagram at the bottom of the page for reference of terms.) The rear kit consists of an adjustable arm that replaces the non-adjustable parallel link. To do this, all of the linkage that was disconnected to install the springs must be disconnected once again. This includes the Radius Rod, Rear Sway Bar, and Parallel Links. The parallel links must be detatched from both ends in order to replace the non-adjustable one. I have not had any success in removing the bolt on the end of the parallel link that lies towards the middle of the car. This is because the gas tank is in the way and the bolt will not slide completely out. I am going to eventually get the rear done, it doesn't seem as pressing right now.
Back to Modifications |


.jpg)
_annotated.jpg)
_annotated.jpg)