The Neons themselves cost me $20 each, switches were $3 each.
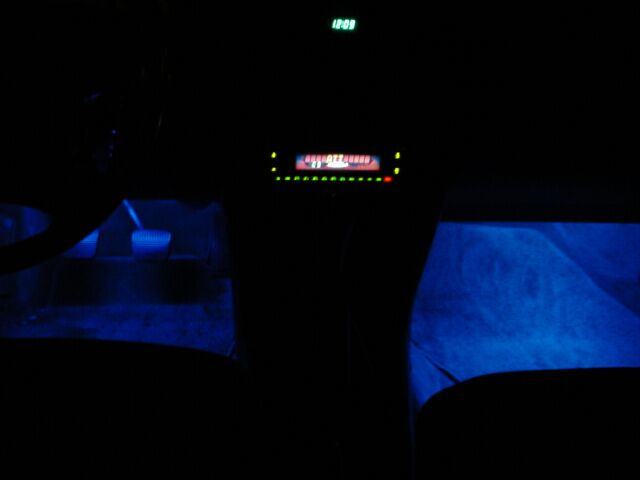
I secured the lights under the kickpanel, facing toward the front of the car to get the best illumination. I did this by cutting small blocks of wood and fastening the light with one block on each end. I then mounted them to the kickpanel by lining up the light and pre-drilling holes. I then held it in place with drywall screws. I ran the wires to the cigarette lighter. I used this as a power source because I didn't want the lights to be accidentally left on to drain the battery.
I had to modify the light's transformer (I think that's what it is) so that I could hard-wire it instead of plugging into a cigarette lighter. I could not simply cut it off and strip the wires since the unit operating the neon light was located in the assembly. I cut off the positive and ground terminals inside the assembly and used connectors to put longer leads onto them.
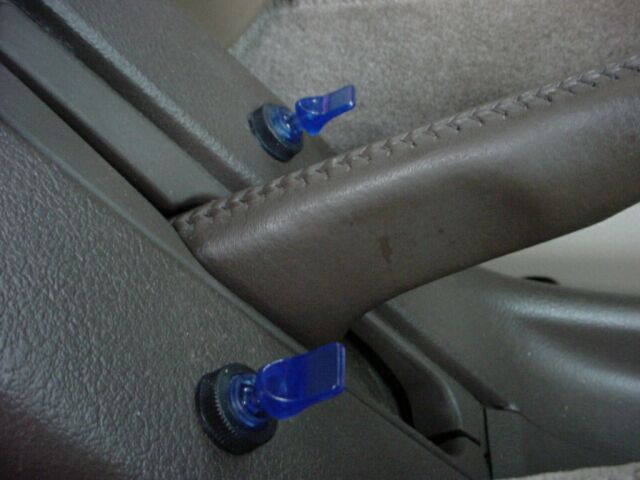
I then wired the switches in and drilled holes for them in the center console. The switches are illuminated, so I had to be sure to ground them.
None of the equipment gets to hot at all. The neons are very cool. The transformers get slightly warm. The illuminated switches get the hottest, but I insulated them from any nearby plastic to eliminate nauseating smells.
Back to Modifications |