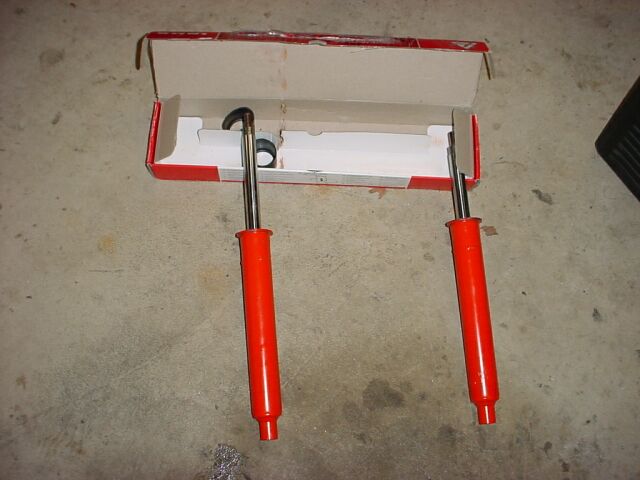
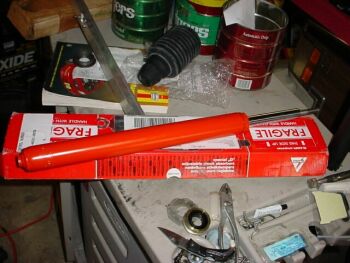
I went with Koni adjustable struts (~$540 shipped) from Wholesale Hyperformance since they have the best price that I could find. I wanted to make sure that I did this right the first time, thats why I decided on Koni because they are the best, even though they are the most expensive option.
Tools needed: jack, jack stands, vice, vice grips, torque wrench, drill, 1/2" drill bit, hacksaw, metal file
Adjusting the Koni struts: The strut must be out of the car without a spring on it. When you receive the strut cartridges, you can adjust them prior to installation. To do this, place the cartridge in a vice vertically. Push the piston down all the way and hold it in place with a block of wood (your hand will hurt if you don't). Get a pair of vice grips (preferably with rubber grips to not damage the threads). Clamp the vice grips onto the shaft and turn it in either direction. You are trying to find the notch for the shaft to fit into. When you find it, the shaft will depress farther. Any turn of the shaft now will result in the adjustment of damping. Clockwise turning increases damping (firmer), counterclockwise turning decreases damping (softer). I set my front struts to the middle setting. Once adjustment is finished, then release the shaft and remove from vice.
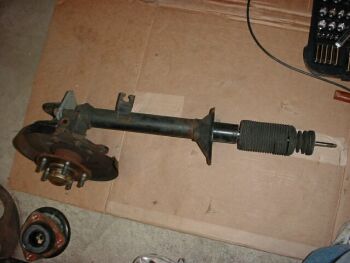
To install you must remove the strut from the vehicle (see springs write up). Remove the spring from the strut and you are ready to begin.
Front Struts
Find the center of the bottom of the strut. Drill a hole here using a pilot bit, then follow up with 1/2" bit. Keep going until you see smoke. The smoke is the strut fluid burning from the heat of the drill. Just be careful and take your time once it starts smoking, I did not have any fire problems, but I do not know how flammable this fluid is. Keep drilling until you see a gap form around the drilling area. In other words, the bottom of the strut cartridge is free from the housing. Turn over the strut and drain the fluid out into a pan.
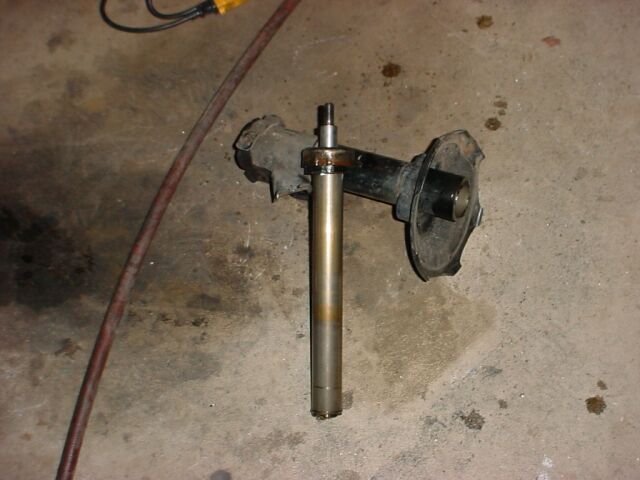
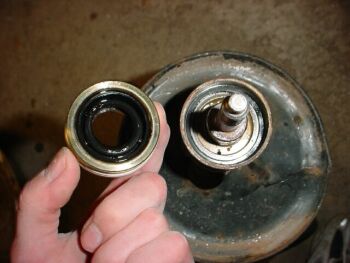
Now you have to cut the top of the strut housing to release the cartridge. To do this, I used a pneumatic cutting wheel. The directions suggest a hacksaw, but this took too long for me. Again, if using a cutting wheel, be careful of the heat because there is some fluid left lining the walls of the housing. The suggested place to cut is ~3cm down from the top of the strut housing. This is listed in the directions. Its ok if you are off slightly. Also, the cut does not have to be perfectly flat once you're done either. Once cutting is finished, remove the old strut cartdridge (top right), and pour out the remaining fluid if any.
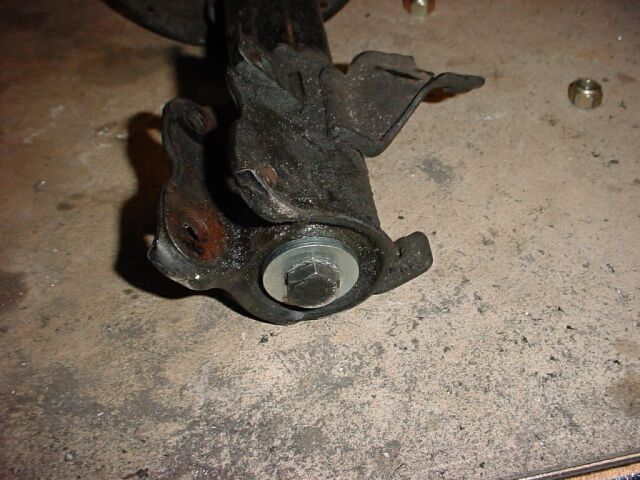
File down the inside of the cut area. Now insert the Koni cartridge (top left) into the housing. Insert the bolt that comes with the Konis for the bottom (bottom left). If your bottom hole is not centered, this could cause you problems now. Place the strut into a vice and tighten the bottom bolt to the specified torque in the directions.
Now reinstall spring and bumpstop (I replaced the bumpstop and dustboot). Reinstall the strut on the car and enjoy the ride!
Rear Struts
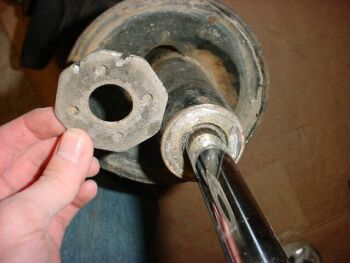
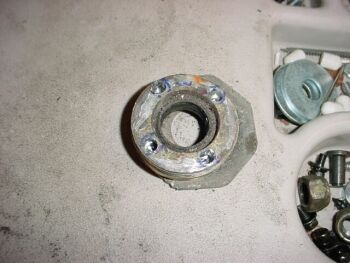
The rears can be more troublesome than the fronts. You will see a cap that is at the top of the cartridge on the stock strut. It is a hex-head cap, but it is very difficult to get enough torque on the head by using a conventional wrench. Because of this, I used a hacksaw to cut off the head of the cap, leaving a smooth area to work with. The new cap that comes with the Konis does not have a hex head, but two holes that are opposite one another. You will need a large spanner wrench to tighten this one down. You might as well make the tool and use it to remove the old cap as well.
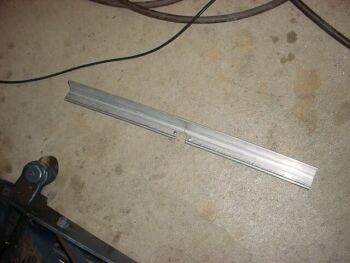
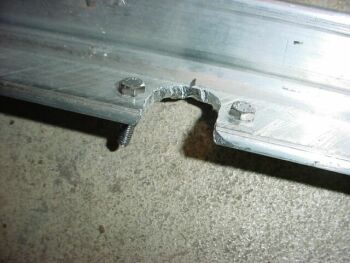
To make a large spanner wrench, I used about two feet of aluminum angle iron that is 1/4" thick and cut a semicircle centered in the iron. I made the semicircle large enough to fit around the strut piston of the Koni as well as the stock. Then I drilled holes in the iron to match up with the Kone cap. I then drilled corresponding holes into the stock cap. I ended up using the thickest machine screws that would fit to use as the pins to fit into the holes in the caps. Now you have a tool that will give you good leverage on two sides as opposed to one.
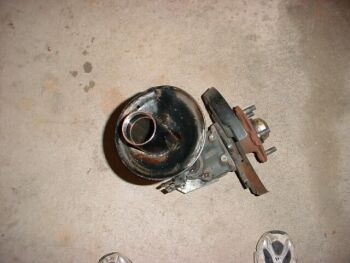
The easiest way to get enough leverage/support to torque the hell out of the stock cap is to reattatch the parallel links to the bottom of the strut. This will keep the strut from twisting. When trying to remove the cap, brace yourself and use all the strength you have. These caps have been on for 10 years and they do not want to come off easy. You may bend/break a pin or two, so just keep fixing the tool until you get them off. After removal, pour as much fluid out as you can. As you pour more fluid out, the piston internals will come out easier. Just keep pulling on the piston. After removing all internal parts, rinse out the strut tube and place the new cartride in place. Fill the remaining space around the cartridge with the old strut fluid and install the new cap using your new tool.
Now replace the boot and spring and reinstall.
Back to Modifications |